PRECISION ON-SITE TEMPERATURE CALIBRATION
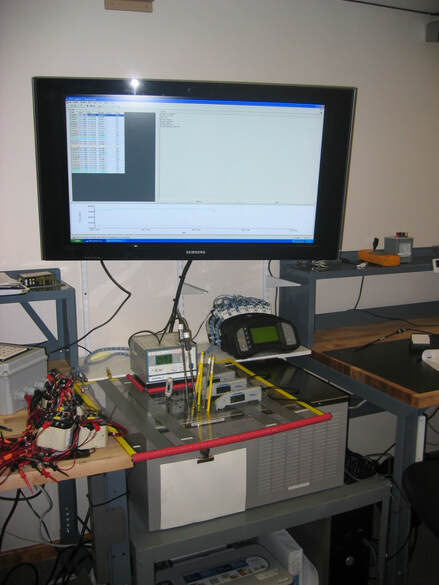
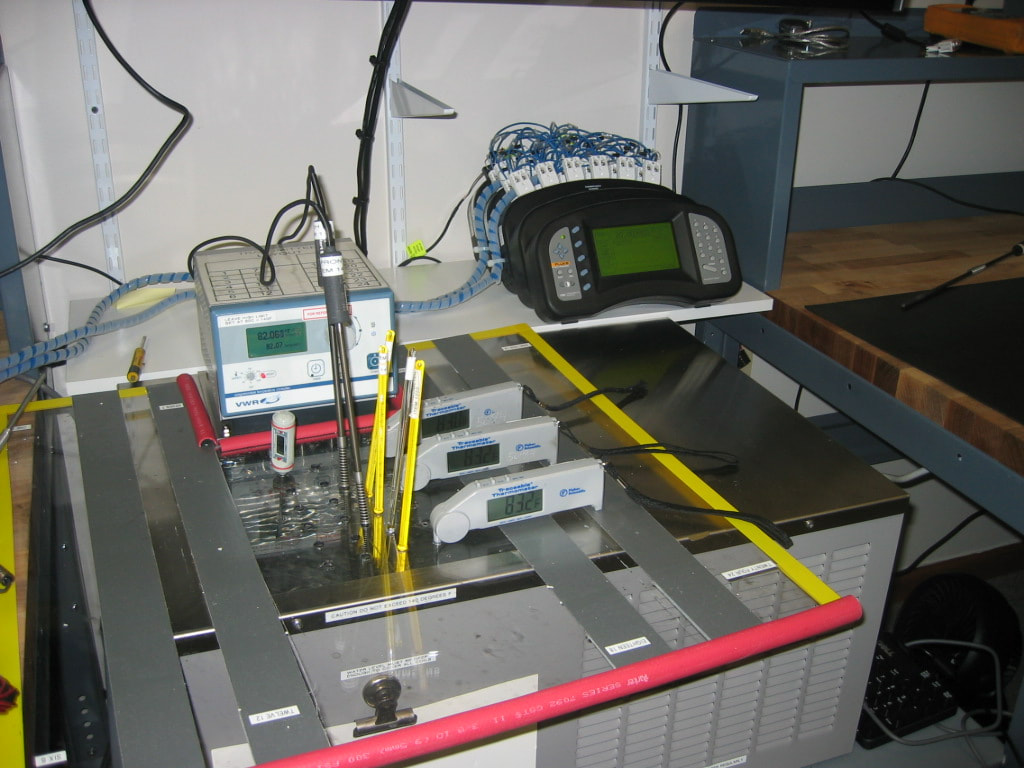
one of the many calibration services we perform is precision on-site temperature calibration. This typically requires that we remove the customer’s temperature probe from the process and insert it into an ice bath and dry block calibration device. This probe is often a thermocouple or RTD. We then read the temperature on the customer’s process Control instrumentation. This method checks the calibration of the whole system and is therefore often called a System Accuracy Test or SAT. Some customers refer to this as a loop check.
When very high accuracy calibrations are required, we utilize a high precision platinum PRT temperature probe and Hart Scientific (Fluke) Black Stack temperature indicator. This combination allows us to measure temperatures with a resolution of 0.0001 degree and uncertainties as small as .02 degrees C. Some of our pharmaceutical customers require this level of accuracy.
For other industries we utilize dry block calibrators capable of achieving 1200 Deg. F. When working in the metal heat treat industry, SAT’s are typically performed by leaving the customer's temperature probe, typically a thermocouple, in the furnace and inserting our calibrated test thermocouple into the same thermowell or protection tube and reading the temperature on our calibrated test instrument. We are familiar with AMS 2750G and work to this standard on a regular basis.
Please give us a call to discuss your calibration requirements.


